Choose the fields displayed in the application panel
In a job pipeline, the panel that opens when you click a card in Tiles view, and the panel opened by the Preview button in Table view, show a row of fields under the candidate's contact details: expected salary, availability, desired contract type… You see the key points of the profile without leaving the pipeline, and you correct them in place.
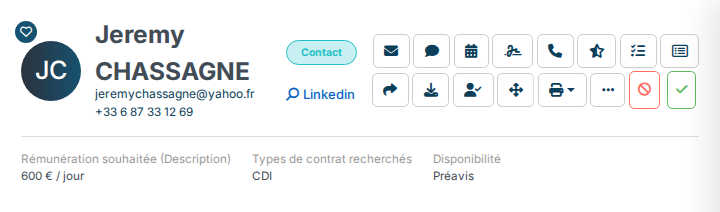
Edit a field from the panel
Hover over the row: a pencil appears on the right. Click it, change the values, then click Save. The row updates without reloading the panel; Cancel closes it without changing anything.
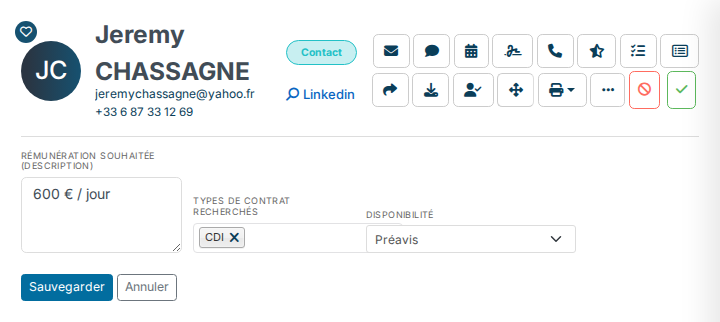
The pencil only shows for users who can edit the candidate record, and a field their profile does not allow them to edit is left out of the form.
Choose the fields displayed
This setting is for administrators. Go to Settings → Modules, ATS card → Settings: the Customizing points page opens.
- Expand the Pipeline section.
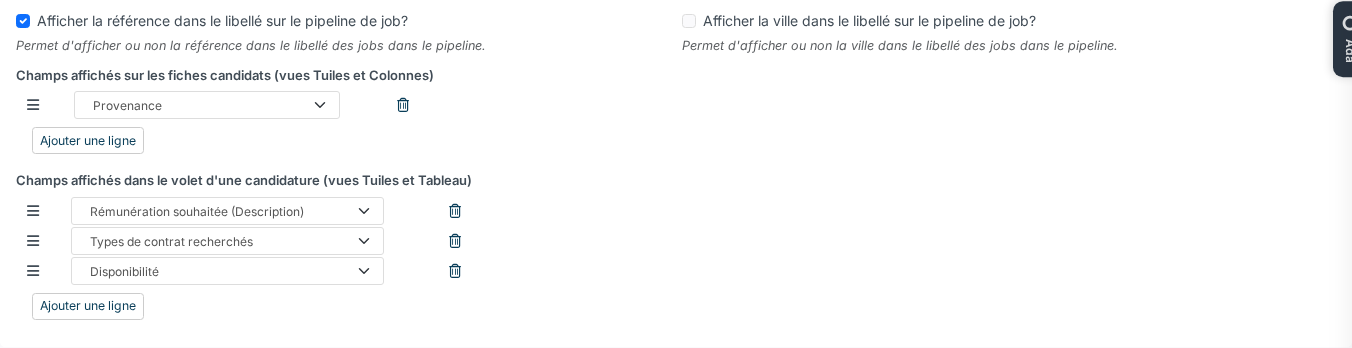
- Under Fields displayed in the application panel (pipeline and table views), click Add a row and pick the field. Repeat for each field, 4 at most.
- Drag the rows by their ☰ icon to order them: the order of the list is the order in the panel.
- Click Save at the bottom of the page.
Good to know
- While this setting is empty, the panel shows the first four fields chosen for the candidate record's Summary tab (see Choose the fields shown in the candidate Summary tab).
- Do not mistake it for the setting just above, Fields displayed on the candidate cards (pipeline and column view): that one sets what is printed on the card itself, under the name, as a bare value on one line.
- Custom fields cannot be displayed in this row; they stay in the panel's Information section.
- The sections displayed under the panel header (Timeline, Experiences, Skills…) are set elsewhere: see Choosing the sections of the application panel in Tiles view.