Outlook Add-in - Import contacts and candidates
With the Nicoka add-in for Outlook, create contacts and candidates in Nicoka from your emails, without retyping anything. The add-in analyzes the open email, lets you correct the information, then sends it to Nicoka. You can also link an email to a contact, an opportunity or a candidate.
The add-in screenshots below show its French interface.
1. Installing the add-in
- In the Outlook toolbar, click the apps button.
- In the window that opens, click the button to add apps.
- In the search bar, type Nicoka pour Outlook, then click the button to add it.
2. Logging in
- Open an email, click the apps button in the toolbar, then Nicoka pour Outlook.
- Click the small pin at the top right of the pane: the add-in stays open when you move from one email to another.
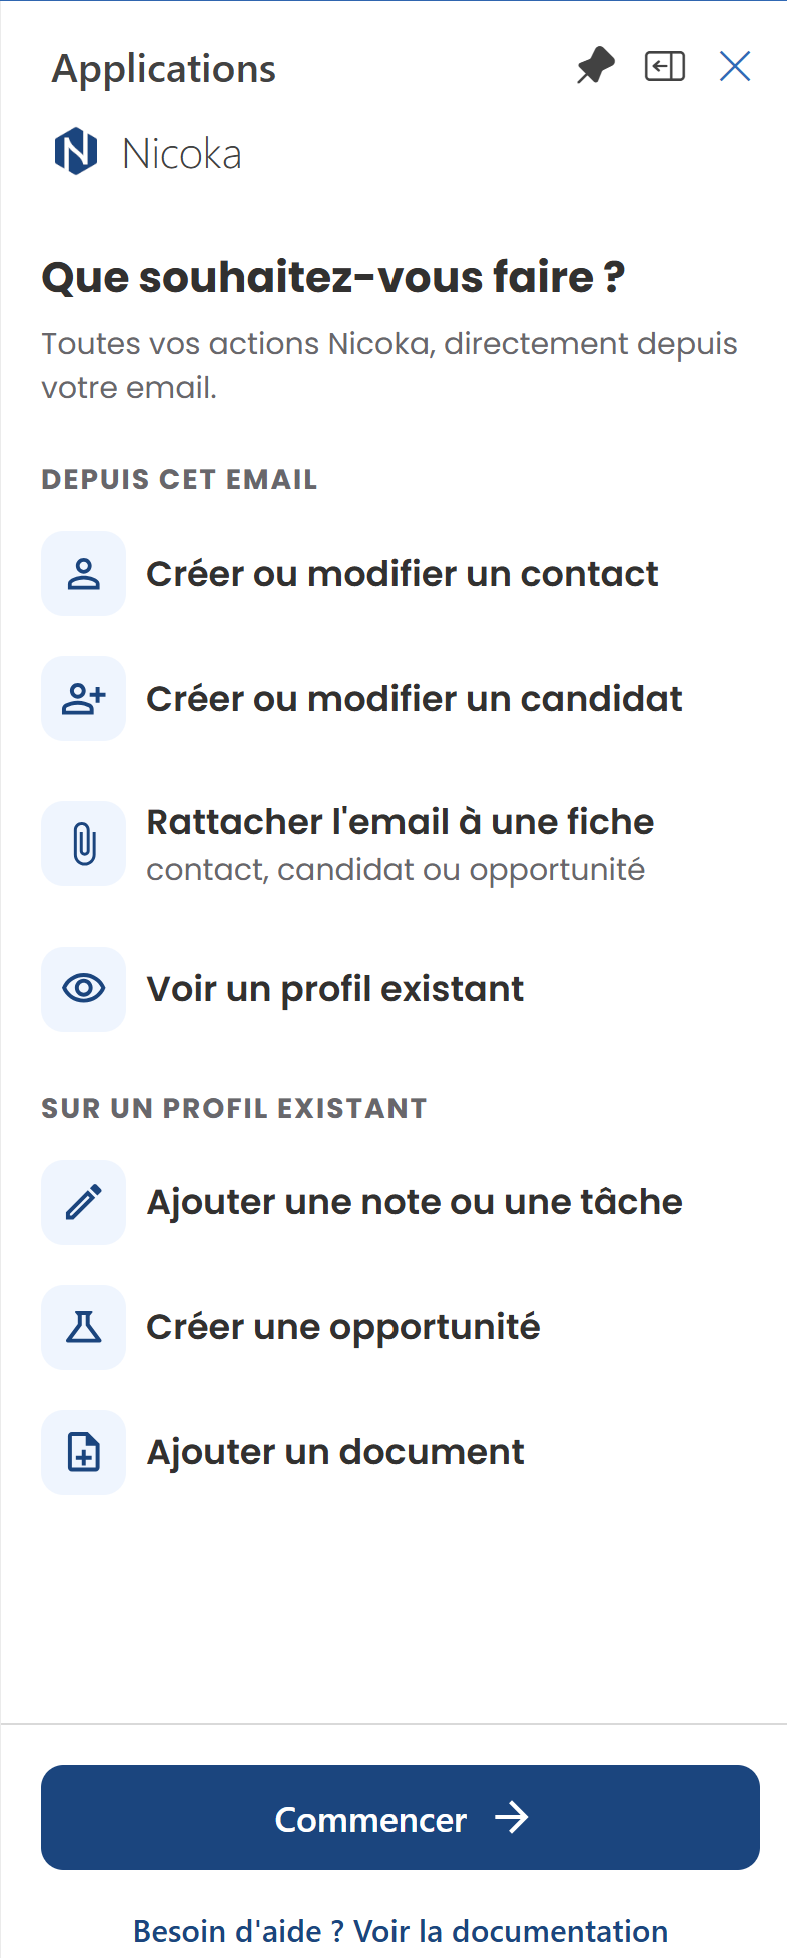
- The first time, the add-in presents what it can do. Click the button at the bottom to get started.
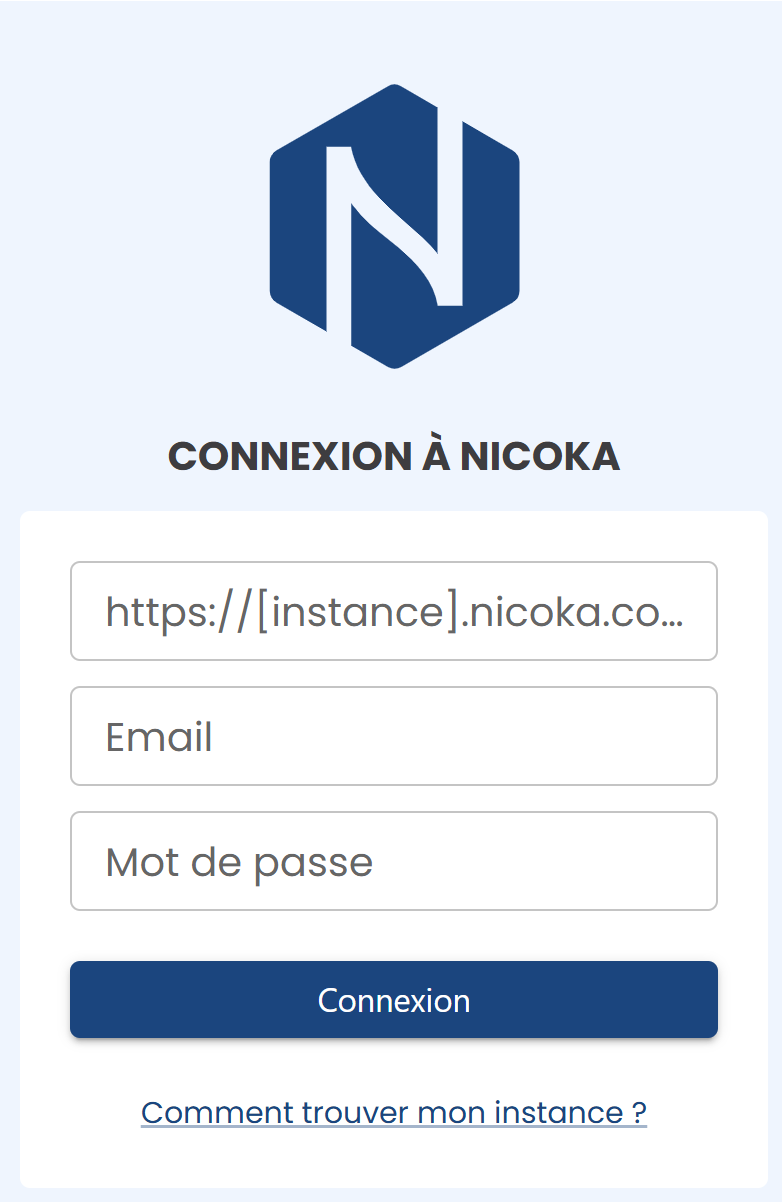
- Enter the address of your instance (a help link tells you how to find it), then your usual Nicoka email and password, and log in.
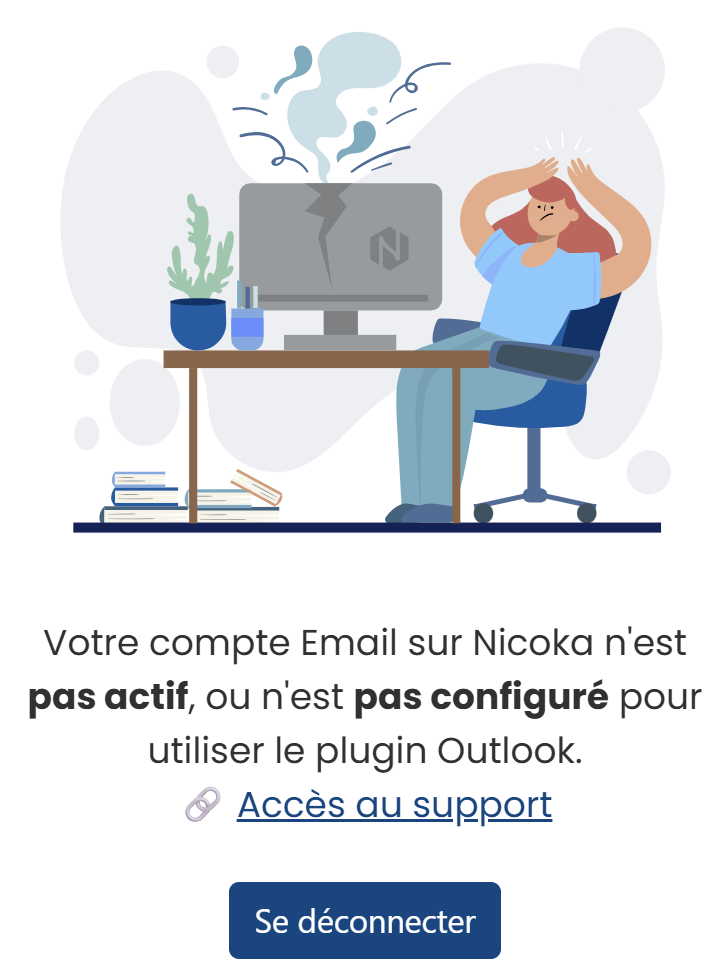
If the add-in says that your email account in Nicoka is not active or not configured for the Outlook plugin, first connect your mailbox to Nicoka: see Step 3 - Connect your email account. Then log out of the add-in and log in again.
3. Contacts
Adding a contact from a received or sent email
Open the email: the profile area fills in with the sender's information. On the contact tab, you can choose the contact type, correct the first and last name, and link the contact to an existing account or create a new one. Then click the button to create the contact in Nicoka.
Viewing and editing an existing contact
If the contact already exists in Nicoka, the add-in shows a summary of their record: status, position, contact details, news feed. The link in the header opens their record in Nicoka. To edit their information, click the pencil icon in the header, correct the fields, then save. A cancel link takes you back to the previous view.
Linking an email to a contact or an opportunity
- Open the email and go to the contact tab: the contact must already exist in Nicoka.
- To also link the email to an opportunity, search for it in the opportunity field. Only the opportunities of the contact's account are offered: for a contact without an account, no opportunity can be chosen.
- Choose whether to keep the attachments, then click the button to add the email to Nicoka.
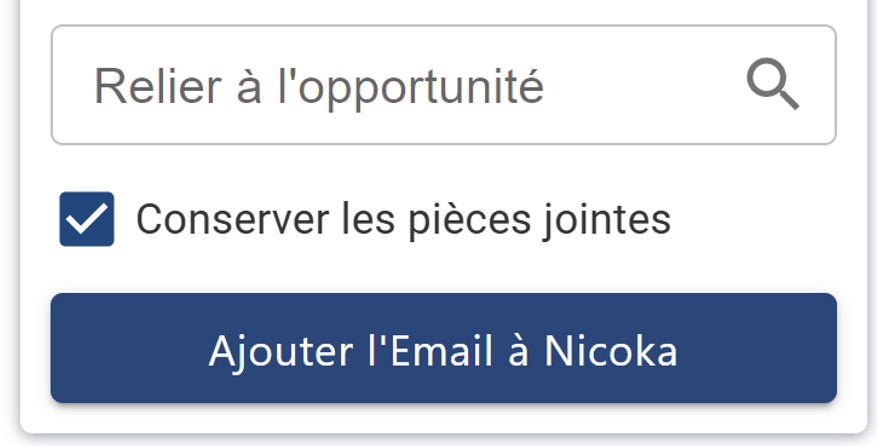
In place of the button, the add-in shows the date and time of the import. The email appears in the contact's news feed in Nicoka and, if you chose one, on the opportunity.
Nicoka attaches an email to the record that carries its sender's address. When the add-in recognises the contact by name, under another address, the email is attached to that record without its address being added. To add it anyway, tick it in the differences with the record, then update the record.
If the button reads that the email is imported but not attached, the email is in Nicoka but on no record, and the tooltip gives the reason. When the reason is an unknown sender, the button lets you attach the email to the record shown: click it.
Creating an opportunity from a contact
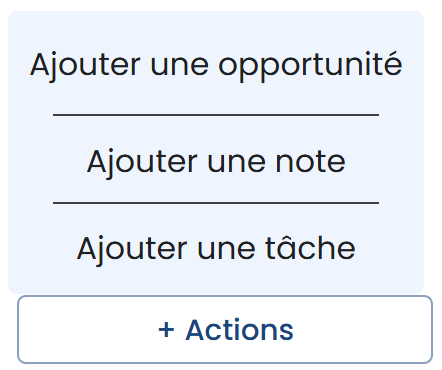
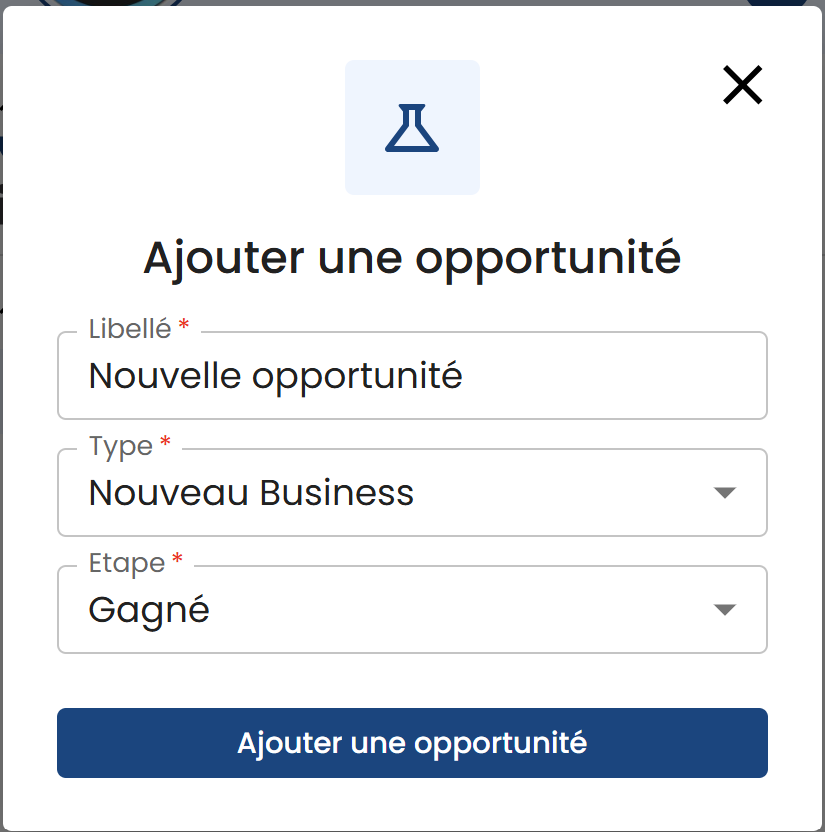
The contact must first exist in Nicoka. Click the actions button at the bottom of the add-in, then add an opportunity. Enter the label, choose the type and the step, then confirm. The opportunity appears on the contact's record in Nicoka.
4. Candidates
Adding a candidate from a received or sent email
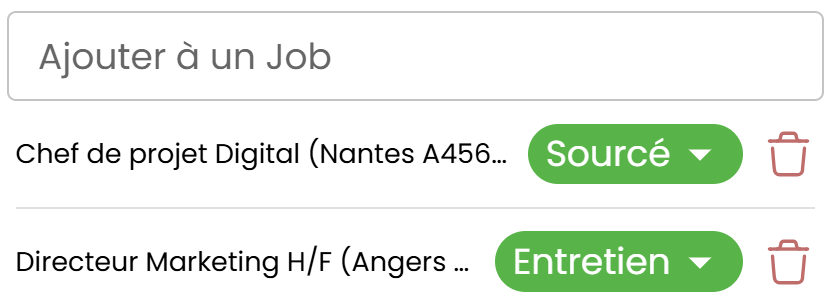
Open the email, then the candidate tab of the profile area. You can choose the candidate type, correct the first and last name, and add the candidate to one or more jobs. Then click the button to create the candidate in Nicoka.
Viewing and editing an existing candidate
If the candidate already exists, the add-in shows a summary of their record: status, position, contact details, assignments, news feed. As for a contact, the header link leads to the Nicoka record and the pencil icon lets you edit the information.
Linking an email to a candidate
Open the email and go to the candidate tab: the candidate must already exist. Tick or untick the attachments box, then click the button to add the email to Nicoka. The email appears in the candidate's news feed in Nicoka. As for a contact, an email added to a record recognised by name is attached to it.
Choosing the step when adding to a job
By default, a candidate added to a job from the add-in is placed in the first Sourcing-type step of your recruitment process. To be able to choose the step (this setting applies to all users of your space):
- In Nicoka, open Customizing > Store. On the ATS card, click Customize, then Customizing Points.
- Expand the Outlook Plugin section, check Choose the step when adding to a job, then click Save at the bottom of the page.

- In the add-in, open the ⋮ menu, refresh the settings, then reload the page.
When you add the candidate to a job, you can now choose the step. The first Sourcing-type step is still offered by default.
Adding a document
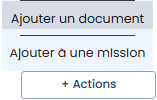
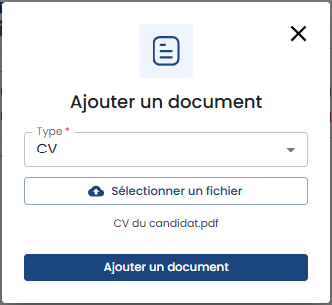
The candidate must first exist in Nicoka. Click the actions button at the bottom of the add-in, then add a document. Choose the document type, select the file, then confirm. The document appears in the candidate's documents in Nicoka.
Disqualifying a candidate on a job
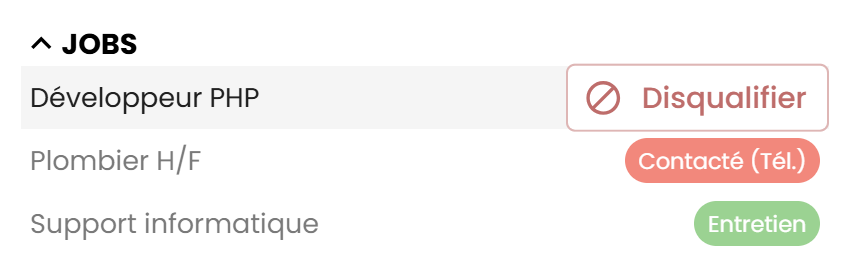
On the record of a candidate who has applications, hover over a job and click the disqualify button. Enter the date, the disqualification reason and, if needed, a comment, then confirm. The application appears as disqualified in Nicoka.
5. Adding a task or a note
The candidate, contact or account must first exist in Nicoka. Click the actions button at the bottom of the add-in, then add a task or a note.
- For a task: choose the type and the target date. Depending on the type, a label field may appear. Then create the task.
- For a note: choose the type and the date, enter the comment, then create the note.
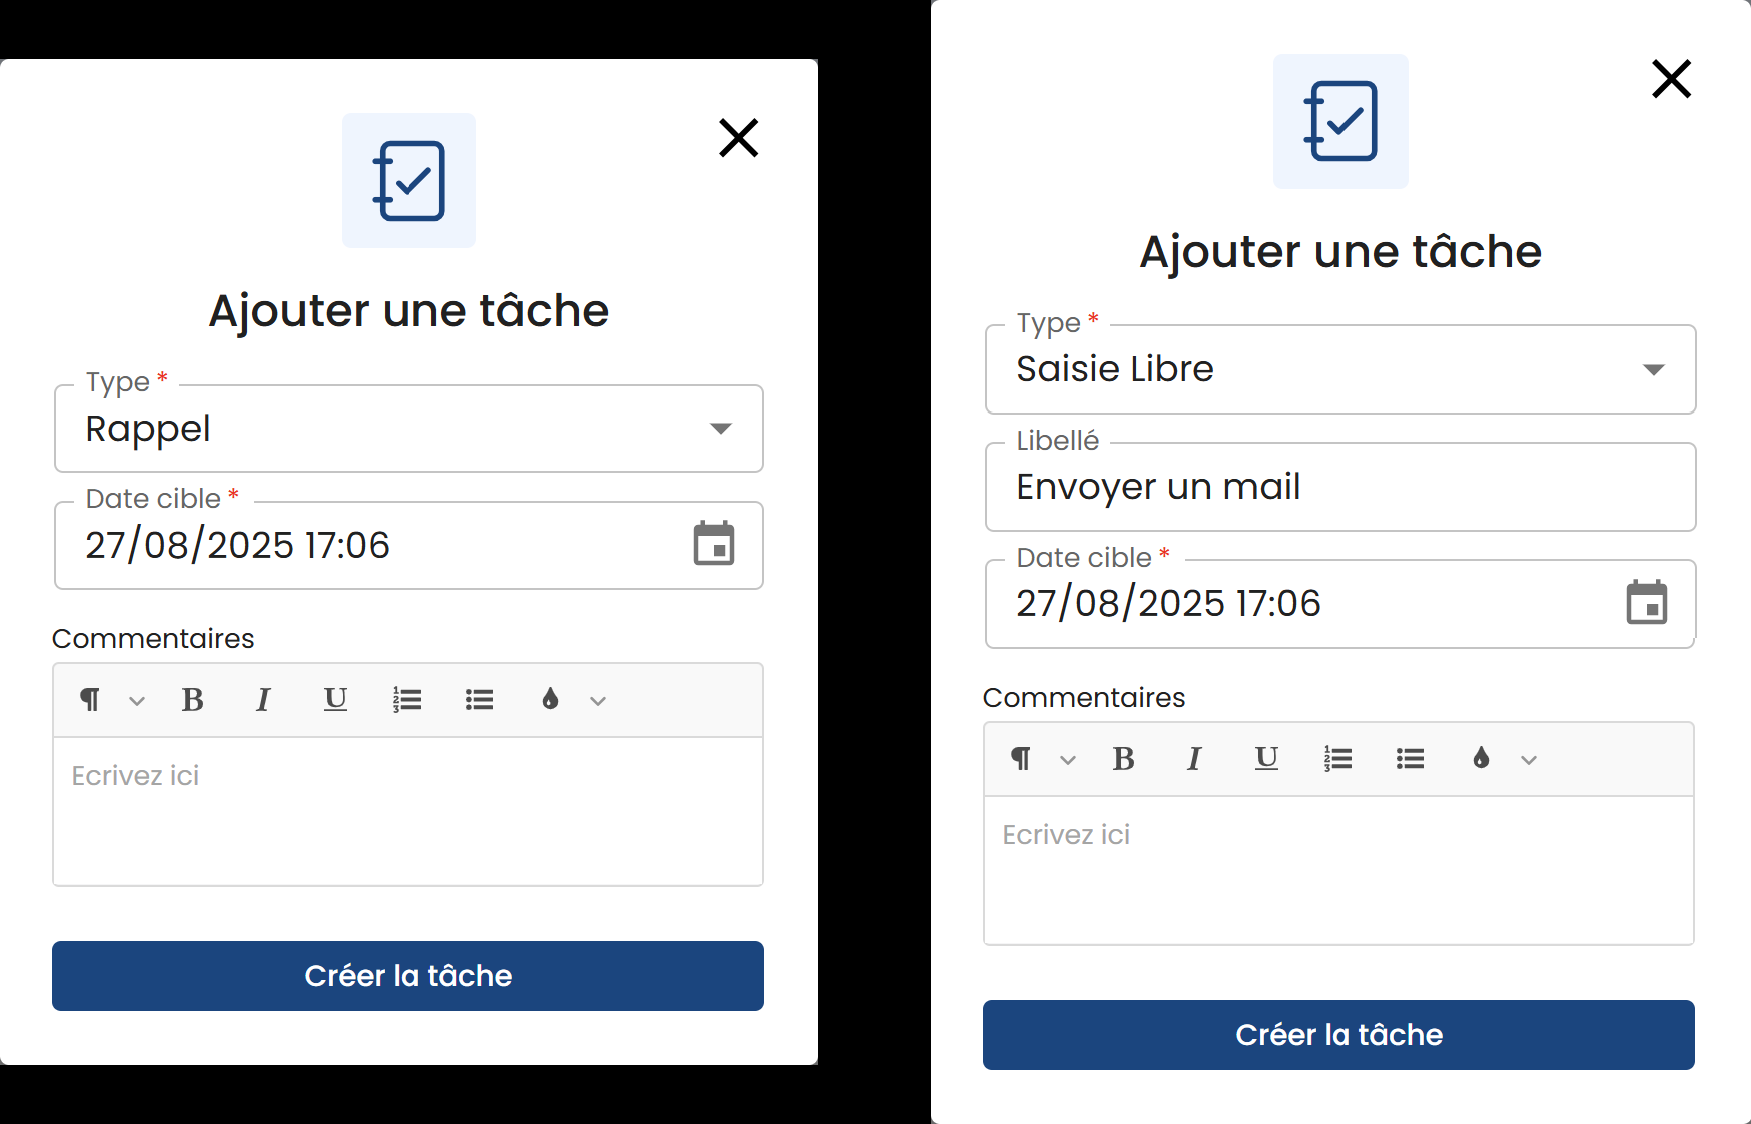
The task or the note appears on the record in Nicoka.
6. Customizing the form fields
The add-in fields are shared by all users of your space: if you change them, they change for everyone. By default, the forms offer:
- candidate: Add to a job*, First name*, Last name*, Email*, Type, Phone 1;
- contact: Account*, First name*, Last name*, Email*, Type, Phone 1;
- opportunity: Account*, Contact*, Label*, Type, Sales step, Location, Amount, Currency, Description.
Fields marked with an asterisk are always present.
For candidates, open Customizing > Store, ATS card, Customize, then Customizing Points, and expand Outlook Plugin (see the screenshot above). In Outlook plugin fields:
- As soon as you customize the form, the default fields (except those marked with an asterisk) disappear: add all the useful fields with the button to add a row.
- Choose the field, then the display component next to it. For a drop-down list, you can prefer a search bar; above 100 choices, the add-in always shows a search bar.
- Drag the rows to change the order of the fields.
- Check the required box to make a field mandatory. For this box to be taken into account, also check Activate mandatory fields in the same section.
Click Save at the bottom of the page. In the add-in, open the ⋮ menu and refresh the settings: the new fields appear in the form.
For contacts and opportunities, customization works the same way in the customizing points of the CRM module (CRM card, Customize, Customizing Points), in the Contacts and Opportunities sections, under Outlook plugin fields. The Contacts section also offers Activate mandatory fields in the Outlook plugin, Set customer as mandatory in the Outlook plugin and Disable customer creation shortcut in the Outlook plugin.
