Email signature template
A signature template is an email signature model shared by your employees. The administrator creates it once, with the company's branding and tags (name, job title, phone, logo…). Each user then applies it to their mailboxes: the signature is filled in automatically with their own details.
Open the signature templates
In the side menu, open Customizing > Admin, then the Emails and Notifications section > Signature Templates.
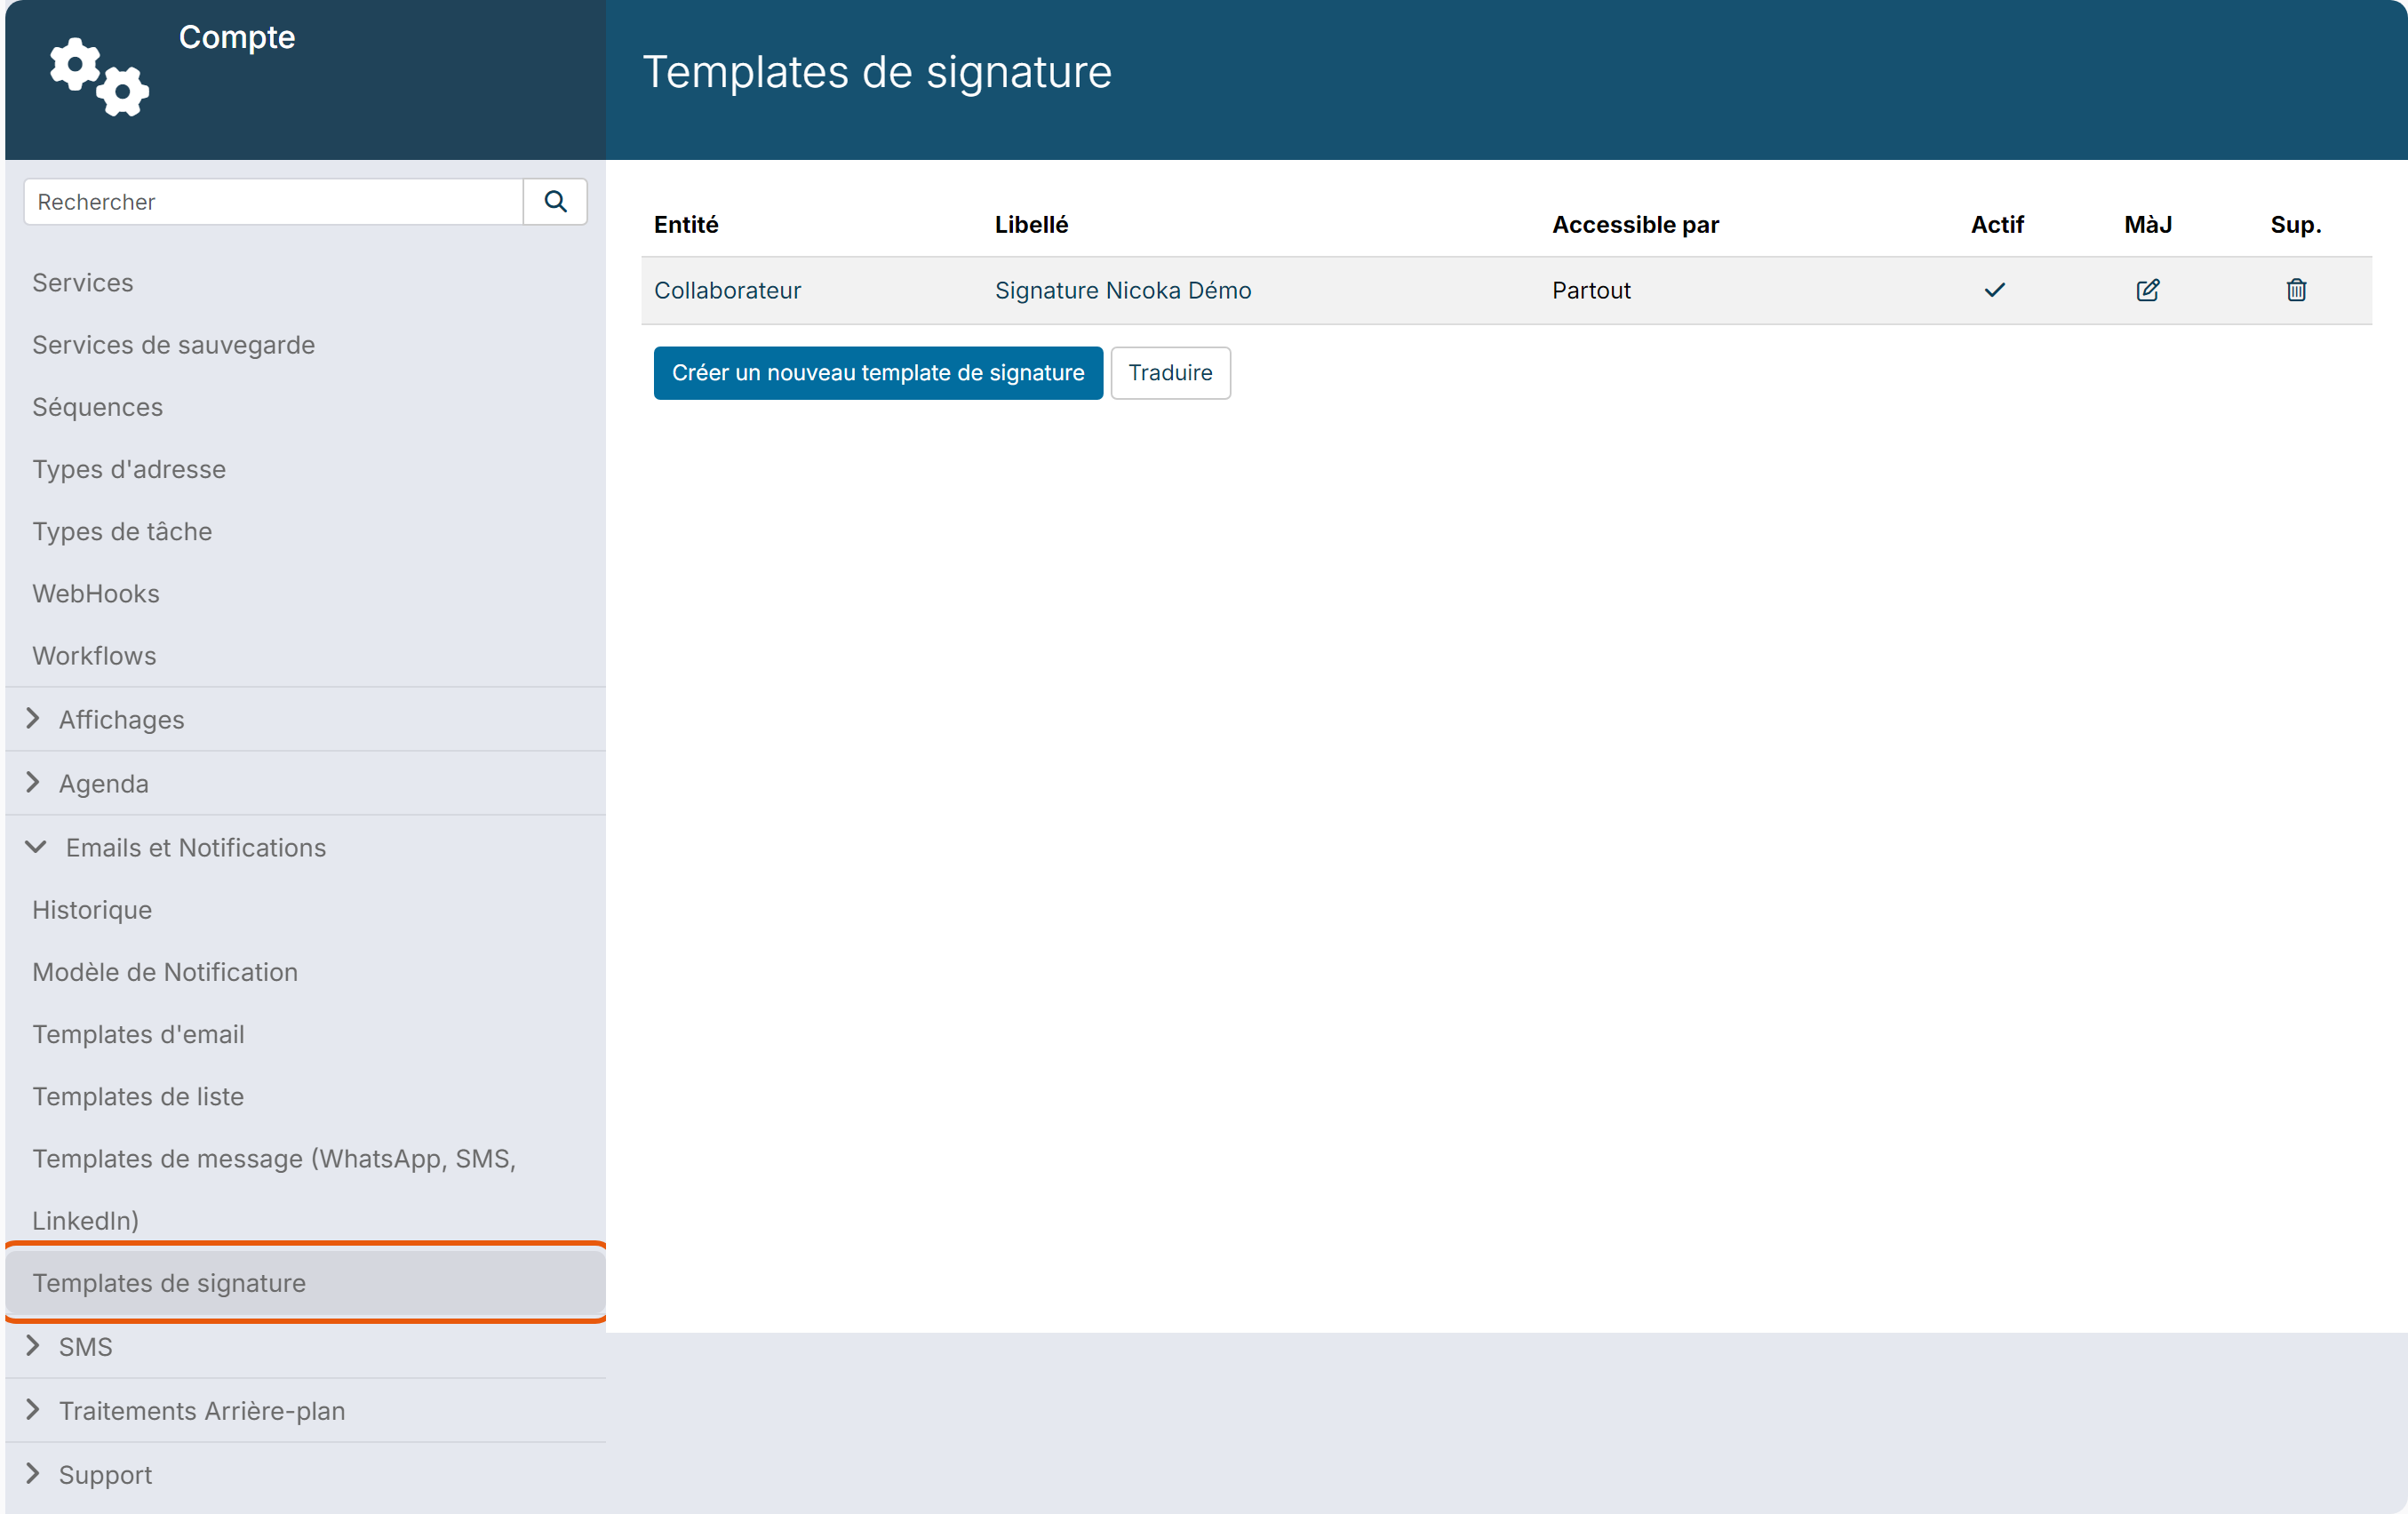
For each template, the list shows the Entity, the Label, the Available for column and the Active box. The Translate button lets you translate the labels into the other languages.
Create a template
- Click Create a new Signature Template.
- Enter a Label that everyone will understand (for example "Signature Nicoka Démo"), then click Create.

- The Update Signature Template page opens. The Entity is Employee: the tags use the details of the user's employee record and of their company.
- Write the signature in the editor. To insert a piece of information, drag a tag from the right-hand panel (Employee, Company… sections) into the content, or use the tag icon in the toolbar.
- Click Update.
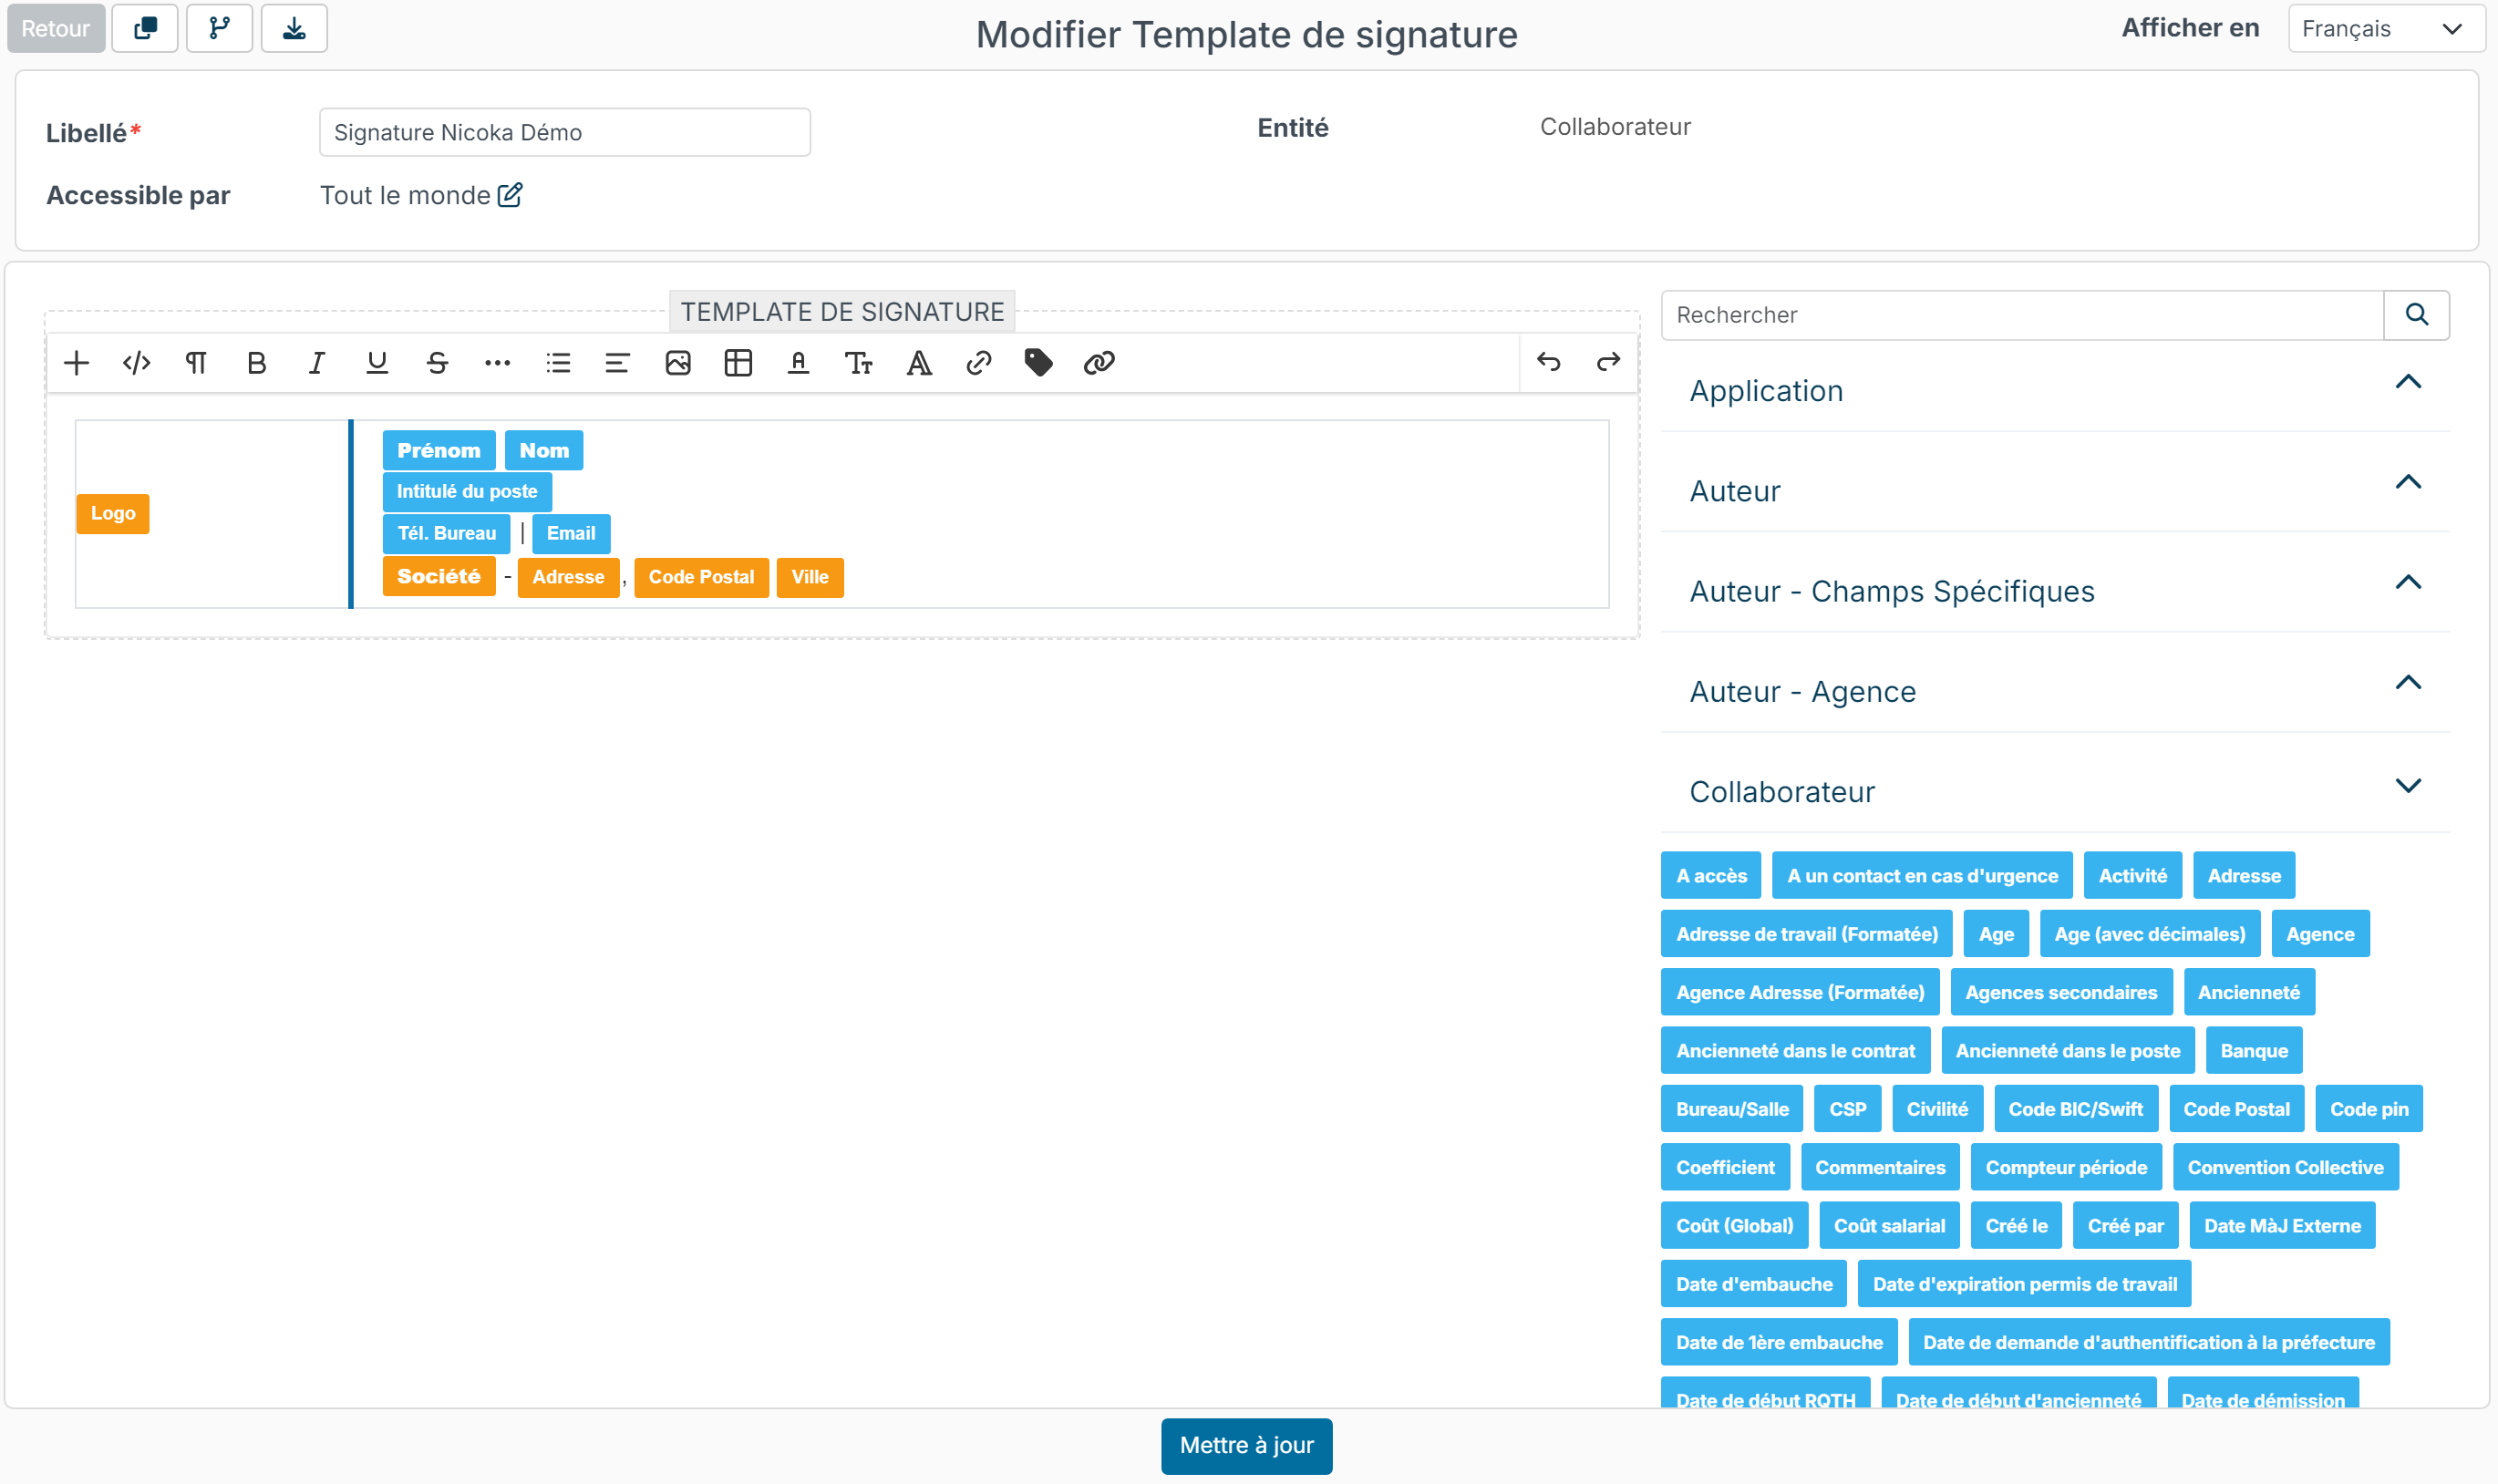
To offer the template in another language, choose the language in Show in, at the top right, then adapt the content.
Layout tips
- Build the signature in a table (table button in the toolbar): it is the most reliable layout across email clients. You can nest tables.
- Check that each tag matches the information you want (for example the office phone rather than the personal mobile phone).
- Check the employee records: a missing photo, job title or phone number leaves a gap in the signature.
- Use lightweight images and keep the number of templates small (two or three models are usually enough).
Apply the template to a mailbox
Each user applies the template to their own mailboxes:
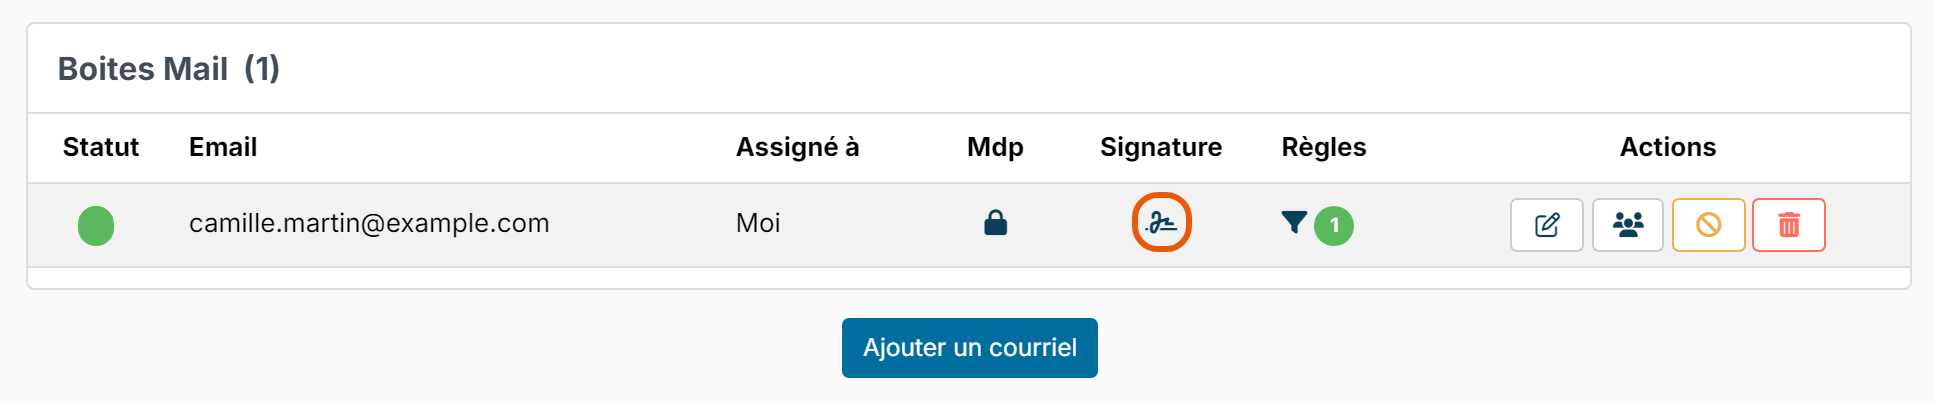
- At the top right, click your initials, then Mail Boxes.
- On the mailbox row, click the icon in the Signature column.
- In the window, choose the model in Signature template for this email box. A preview is shown below it, in Preview of the signature based on the selected template. To write your own signature, choose Use my signature.
- Click Create (or Update if the mailbox already had a signature).

The Signature template for this email box list is only shown when at least one signature template exists. Once the signature is saved, the icon in the Signature column turns green.
An employee with several mailboxes chooses a signature for each of them, including a shared mailbox. To write a personal signature, see Add an email signature.
Change an existing template
Signatures are not copied: they are rebuilt from the template. Any change to the template (for example a banner for an event) therefore applies to every employee who uses it. A template used by at least one mailbox cannot be deleted.