Choosing the sections and header of the pipeline candidate panel
In a job pipeline, each view opens the candidate in a panel: next to the list in Columns view, when you click a card in Tiles view, in the preview panel in Table view. This panel is made of a header (name, contact details, chosen fields, action buttons) and of sections (Timeline, Resume, Experiences, Skills…), which are set separately.
One layout per view
The sections of each panel come from a layout. Go to Settings → Modules, ATS card → Settings, then, in the left menu, Candidates → Layouts. The Pipeline column shows the view each layout serves:
- Columns → Application Summary: the panel shown next to the list of candidates;
- Tiles → Application Card Preview: the panel opened by clicking a card;
- Table → Card Preview: the preview panel, also used from candidate lists.
Adding, removing or ordering sections
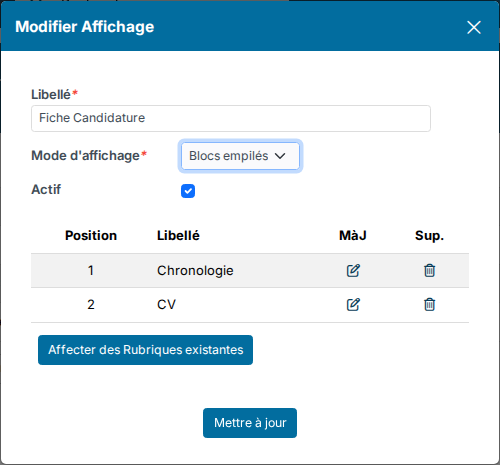
- Click the edit icon of the layout of the view concerned.
- Click Add existing Sections, pick the section (Information, Experiences, Education, Skills, Documents, Evaluations…) and save. To remove a section, click its bin.
- Drag the rows to order the sections: the order of the grid is the order of the panel.
- Click Update.
Note, Tiles view: while the Application Card Preview layout has no row, the panel shows four default sections (Information, Jobs, Skills and Timeline). As soon as you add one, it only shows the sections of the list: add these four too to keep them.
In Tiles view, each section shows as a closed block, in the order of the layout. Clicking its title opens it and loads its content; the panel remembers the blocks you leave open. The add and edit buttons of a section (add an experience, for instance) are the same as on the candidate's profile.
Showing the sections as tabs (Columns view)
In the Application Summary layout, the Display Mode list offers two presentations:
- Stacked blocks: the sections show one below the other;
- Tabs: each section becomes a tab under the candidate header, and the panel reopens the tab you viewed last.
Pick the mode, then click Update.
Setting the panel header
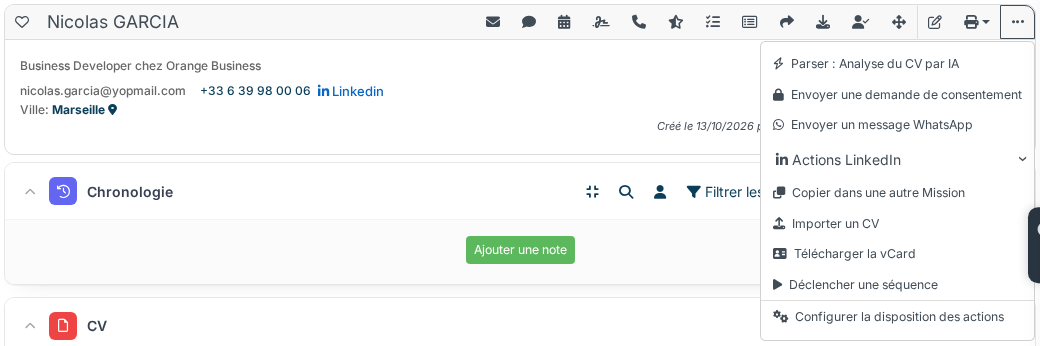
The header, above the sections, holds the candidate's name, contact details, a selection of fields and the action buttons.
- Fields shown under the contact details: in Columns view, they are those of the candidate record's Summary, set in the ATS Customizing Points, Candidates section, Available Fields in Summary (see Choose the fields shown in the candidate Summary tab). In Tiles and Table views, they have their own setting (see Choose the fields displayed in the application panel).
- Action buttons (email, note, meeting, call…): click … at the end of the row of buttons, then Configure actions layout. Choose the actions shown as buttons and those kept in the … menu. Save for me only changes your own display only; Save for everyone is reserved for the application administrator. This layout applies wherever the candidate header shows its actions: pipeline panels and candidate profile.
Good to know
- In Tiles view, the resume has its own pane in the panel: the Resume section is not repeated there, even when it is part of the layout.
- A section disabled in Candidates → Sections, or one your rights do not let you see, does not show in the panel.
- For an overview of the screen, see A job's pipeline: the screen and its options.